Click to call
Tongue Cleaner
Are you familiar with the remarkable tool known as a tongue cleaner and how it can transform your oral health routine? A tongue cleaner is a specialized dental device designed to perform a crucial task – cleaning the surface of your tongue. Picture it as a sleek, gentle companion in your quest for a healthier, fresher mouth.

Why use a tongue cleaner?

So, why should you consider inviting a tongue cleaner into your daily dental regimen? Keep reading to find out more:
- Elevate Your Oral Hygiene:Elevate your oral hygiene game by introducing the remarkable tongue cleaner. It’s your secret weapon against the buildup of troublesome bacteria on your tongue, the very culprits behind unpleasant breath, gum concerns, and potential tooth issues.
- Unleash Freshness: Banish unwanted odors and embrace a newfound freshness. Bad breath often finds its roots in the accumulation of odor-causing bacteria on the tongue. A tongue cleaner can help you break free from this common concern.
- Taste the Difference: Imagine savoring the rich flavors of your favorite foods to the fullest. With a clean tongue, your taste buds can revel in the sensory experience, enhancing your appreciation of every bite.
- Guard Your Oral Health:Don’t underestimate the power of tongue cleaning in safeguarding your oral health. By banishing bacteria and debris, you’re actively reducing the risk of dental troubles. It’s the perfect complement to your regular brushing and flossing routine.
- Confidence Booster: Picture yourself with newfound confidence – knowing that your breath is fresh and your mouth is healthy. A tongue cleaner can be your trusted ally in both social and professional settings
How to use a tongue cleaner?

Step 1: Assemble Your Tools – First, make sure you have your trusty tongue cleaner at the ready. These versatile tools come in various materials like plastic, metal, or silicone. And don’t forget to have a source of clean, flowing water nearby.
Step 2: Purity Begins with Your Hands – Before you dive into tongue cleaning, take a moment to wash your hands thoroughly with soap and water. It’s the essential first step in maintaining a hygienic process.
Step 3: Grasp Your Tongue’s Ally – Now, take a hold of your tongue cleaner by its ergonomic handles or the designated grip area – depending on the style you’ve chosen. It’s your gateway to a cleaner, fresher tongue.

Step 4: Say Ahh and Present Your Tongue – Imagine your mouth as a canvas, and your tongue as the masterpiece. Gently open your mouth and extend your tongue forward. Let it unfold, showcasing its surface for the transformation that’s about to happen.
Step 5: Target the Base for Max Impact- Position your tongue cleaner towards the back of your tongue, near its base. This is the sweet spot, where the action begins without triggering any unwanted reflexes.
Step 6: Glide Gracefully Forward- With a feather-light touch, draw the tongue cleaner forward along the full length of your tongue. Glide it as gracefully as a brushstroke on a canvas, ensuring you cover every inch of the terrain.

Step 7: Rinse Away the Debris- After each pass, give your tongue cleaner a refreshing rinse under flowing water. Watch as it liberates collected debris and evicts lingering bacteria. This cleansing ritual might require a few repeats, and that’s perfectly fine.
Step 8: Repeat to Perfect – Continue the rhythmic motion, gliding your tongue cleaner forward, pausing only to rinse and rejuvenate. Repeat this sequence until your tongue feels pristine, free from any lingering debris.
Step 9: Rinse Your Oral Oasis – With your tongue now cleansed, refresh your entire mouth by rinsing thoroughly with water. It’s the finishing touch that washes away any remnants of your cleaning session.

Step 10: Nourish Your Tongue Cleaner – Give your trusty tongue cleaner a little love in return. Rinse it one more time and follow the manufacturer’s recommendations to keep it in its prime. This might involve using a gentle disinfectant or a refreshing boil in water.
Step 11: Seal the Cleanliness with Hand Hygiene – As you wrap up this revitalizing ritual, don’t forget to wash your hands once more. It’s the final act that ensures the integrity of your entire cleansing process.
Step 12: Ready for the Next Adventure- Your tongue cleaner deserves a cozy home. Store it in a clean, dry place, ready and waiting for your next session. With this simple yet effective routine, you’re on your way to a healthier, more vibrant mouth – one swipe at a time.
Should I Buy a Separate Tongue Cleaner, or Can I Simply Use My Toothbrush?

We understand your desire for a simple and effective tongue cleaning routine. Here’s why dedicated tongue cleaners can be a great addition:
- Precision Design: Tongue cleaners are like artists’ brushes for your tongue, offering efficient cleaning with their broad, smooth surface.
- No Gag Reflex Worries: Their flat design is less likely to trigger your gag reflex, ensuring a comfortable cleaning experience.
- Effortless Cleaning: Cover more ground in less time with a tongue cleaner, achieving a thorough clean with ease.
- Dedicated Cleanliness: Separate tools for teeth and tongue maintain higher hygiene standards.
- Fresher Breath: Tongue cleaners reduce bad breath by removing odor-causing bacteria.
If you prefer your toothbrush, here’s a gentle guide:
- Brush with Care: Rinse your toothbrush after brushing your teeth.
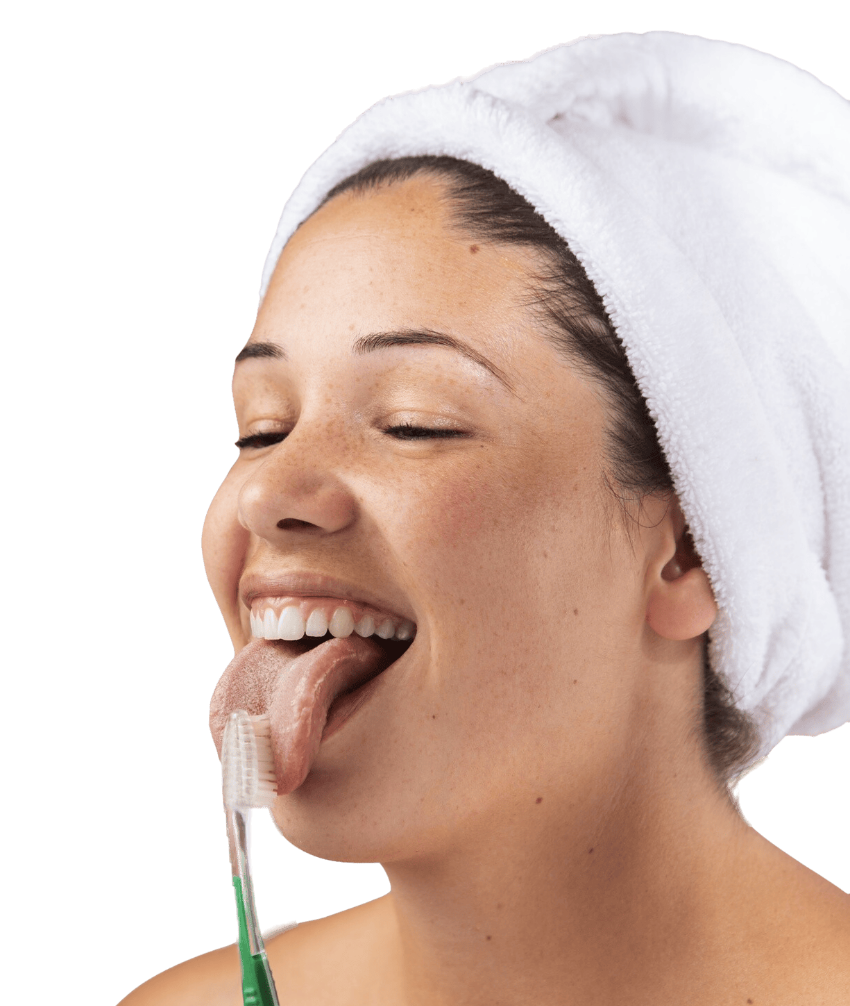
- Extend and Engage: Gently brush your extended tongue surface with the toothbrush, keeping it light to avoid discomfort.
- Rinse and Repeat: Rinse your mouth with water or mouthwash to wash away debris.
- Last Brush Dance: Rinse your toothbrush one more time for cleanliness.
Ultimately, choose what brings you delight in your oral care journey, and remember that consistency is key for a healthier mouth.
Is it necessary to use a tongue cleaner as part of my daily oral hygiene routine?
Although not mandatory, incorporating a tongue cleaner into your oral care routine can greatly boost your overall dental hygiene by tackling concerns associated with the tongue, such as combating bad breath and minimizing bacterial accumulation.
